My Casa Bella

COME IN THE EVENING, OR COME IN THE MORNING;

COME WHEN YOU'RE LOOK'D FOR,

OR COME WITHOUT WARNING.

KISSES AND WELCOME YOU'LL FIND BEFORE YOU,

AND THE OFTENER YOU COME HERE

THE MORE I'LL ADORE YOU!

-Thomas Osbourne Davis


Welcome To My Casa Bella

My Casa Bella- means-my beautiful home- but it can mean so many other things. How you make your home a home. The sounds of children or pets playing. The aroma of scones in the oven or a lilac candle burning. The flowers blooming in your garden. The home grown vegetables ready to be picked. Grandma's quilt at the foot of the bed. A fire to curl up to with a good book. Or just a family spending time together with love, laughter and a good time.


Showing posts with label remodeling. Show all posts

Monday, January 20, 2014

Master Bedroom Redo (Again)...:) And Painting Furniture

It's been one year and nine months that we've been living in our home and I've all ready redone the bedroom twice.
The first time we had no choice it was just gross, but because of the rush to move in, their was no taking my time in picking out paint, so I chose what I thought was a pretty blue, but it was too much blue for this room.
So I had plenty of time to pick out something that I hoped I would just love, and I did.
Since we had the paint brushes out I thought I might as well paint our furniture.
It's something I've wanted to do for a very long time, and honestly when it came time to do it, I had to really talk myself into it,
I even went onto Pinterest and looked at before and after of furniture similar to mine
and I finally did it.
So the furniture:
I purchased this antique dresser over 10 years ago for our guest room. And many times I've thought of painting it but never did.
As you can see, it's all ready for a paint job.
I didn't sand it, I used Liquid Sand Paper which you can purchase anywhere they sell paints.
I love that stuff!!!
Rubbed it all over the furniture I was planning on painting, let it dry and them primed everything. The paint I bought all ready had primer in it but I didn't want to take any chances on wood bleeding through.
So all primed and ready to go
I'm sure many of you notice the missing hardware on the right drawer.
When I tried to put it back on it would not work, then hubby noticed the screw was bent so we have to buy a new one.
When I removed the hardware before painting I realized someone put them on upside down, so I fixed that and I love how it turned out.
I'm still debating on the antiquing process. Not sure yet if I want to do that or just leave it.
The other piece of furniture, hubby was a little freaked out that I was going to paint it.
The Armoire!
The 1990's pine armoire from Broyhill.
We bought this set together after we were married for a couple of years.
After a few years with the set we gave my parents the dresser and lingerie chest but kept this.
So after years of pine it was time for a change and although the furniture in our room does not match, I wanted them to have the same color. I was tired of mismatched wood pieces.
After:
Again trying to decide to leave it alone or antique it a bit?
Then we needed new furniture on either side of the bed and went to IKEA for that.
We bought the TARVA line, unfinished wood so you can paint it or stain it.
It's a very simple set that I painted, ordered hardware through EBay and the only thing they need are molding. So I need to go and pick something out
Priming then painting the dressers and drawers while watching Netflix on our laptop, time flies that way

So the after below, it needs something in the middle, between the hardware, deciding if I should put molding on just the top drawer or all drawers
I love this hardware, it's furniture jewelry 
The drawers are nice and deep and it is well needed storage 
 
So now the bedroom Before:
I like how the blue looked in pictures but not in person
So after
 
I really like this color, the bathroom also got repainted in the same family just one shade lighter.
So the only thing to do here is refinish the floors, again and add base board trim.
So glad we finally got this done. It's a real pain to paint this room because the ceilings go real high and you need a special ladder to reach those areas so we're happy this worked out because we plan to live with this color for a very long time!!!
So what do you think, antique the furniture a bit or not?
Add molding to all three drawers or just one?
Decisions, decisions!

Tuesday, December 24, 2013

Painting Party!!!

So today is the day,
Day one of painting our bedroom.
We've been here one year and eight months and I've wanted to paint our room the day after we put up the blue paint.
It wasn't what I thought it would be and we didn't have time to run to the paint store to pick out different paint color, we had to get this done.
So today is the day to finally get the color that I think I will love, I better because DH won't be happy if we have to paint again after this.
I also spent the whole day yesterday putting together 3 pieces of furniture we purchased from IKEA.
Unfinished dressers that I will be painting along with two pieces we already have in the room.
So this week will be a busy week and I'm anxious to get started.
I will post the before and after when it's all done,
till then,
have a great week!!!!!


Tuesday, December 3, 2013

Kitchen Remodel Before and After

I can't believe that it'll be two years in January that we sold our last home and moved here.
It'll be two years that we purchased our town home in April and there is still always something to do.
We've done all the major remodeling, we still have those small tedious projects to do, I guess we're waiting for a good snow storm the kind that you can't go anywhere and you're stuck at home. Hopefully then we can finish those small, time consuming projects.
But our kitchen although not completely done, is for the most part finished.
When we first walked in to this home, the first thing you see to your left is the kitchen, it was not impressive.
UGH, the last homeowners removed the original cabinets which were oak, you know the 1980's oak cabinets so not so pretty but workable, they could of been repainted and all we would have to do is replace the appliances, flooring, lights and new counter tops. But no, they had to do their version of a remodel and it looked like this
 
They put in the type of cabinets you may see in a Doctor's office. I did not like them at all. Then add the high gloss blue paint for a back splash.
The only working appliance was the refrigerator and I had to get out hot bleach water to clean it down so it could be used while we remodeled our home.
At least the floors matched the blue and white color scheme but it was not for me.
Light fixture was hanging lopsided and too modern for my taste.
It all needed to be warmed up.
The window had to be replaced, and I've always wanted a greenhouse window and our contractor got a good deal on a new one.
So we tore everything out, EVERYTHING,
New cabinets with a creamy finish and bronze rubbed edges. Bronze hardware from Ebay and new lighting which was added by an electrician, there was no light over the sink.
 Need to get a stainless steal trashcan but why are they so expensive???


 Removed the bi-fold doors that were very awkward at the pantry and I sewed a curtain instead.
We also added this section to the kitchen, there weren't any cabinets on this side so I needed more hiding space for my collection of pots and pans and other fun cook ware.
And we can't forget the overhead lighting. Saw this at Lowe's and I had to have it, it's my bling for the kitchen. 
The only thing left to do is a back splash and I am having a very hard time choosing, or more like committing to something.
Tile is so permanent and not cheap and I found some at Lowe's that I really like, it's just making the decision.
I also like wainscoting as well.
I found several ideas on the Internet like these
I like that this homeowner used a tin tile for behind the stove to change it up a bit.
 
It gives the kitchen a cottage charm and I like how that looks so as you see I can't decide,
Tile or Wainscoting??


Tuesday, June 25, 2013

Landscaping Before & After's

I thought when I put this blog together I'd be posting quite regularly but no, that hasn't happened since we put our last home on the market.
Life has become insane since all that happened.
Projects are never ending, you finish one and there is another waiting for you.
Plus, work & a life take over as well.
But I am now finally posting our Landscaping project.
When we bought this place it certainly wasn't for it's curb appeal
or
how beautiful it looked on the inside,
no way!
It was price, location and the possibilities.
Our front yard was awful,
whoever lived here look like they tried to do something
but because it being an end unit and on a slope
the yard was washing away.
You couldn't plant anything.
They had holly bushes in front but the roots were exposed since the soil was going down the hill,
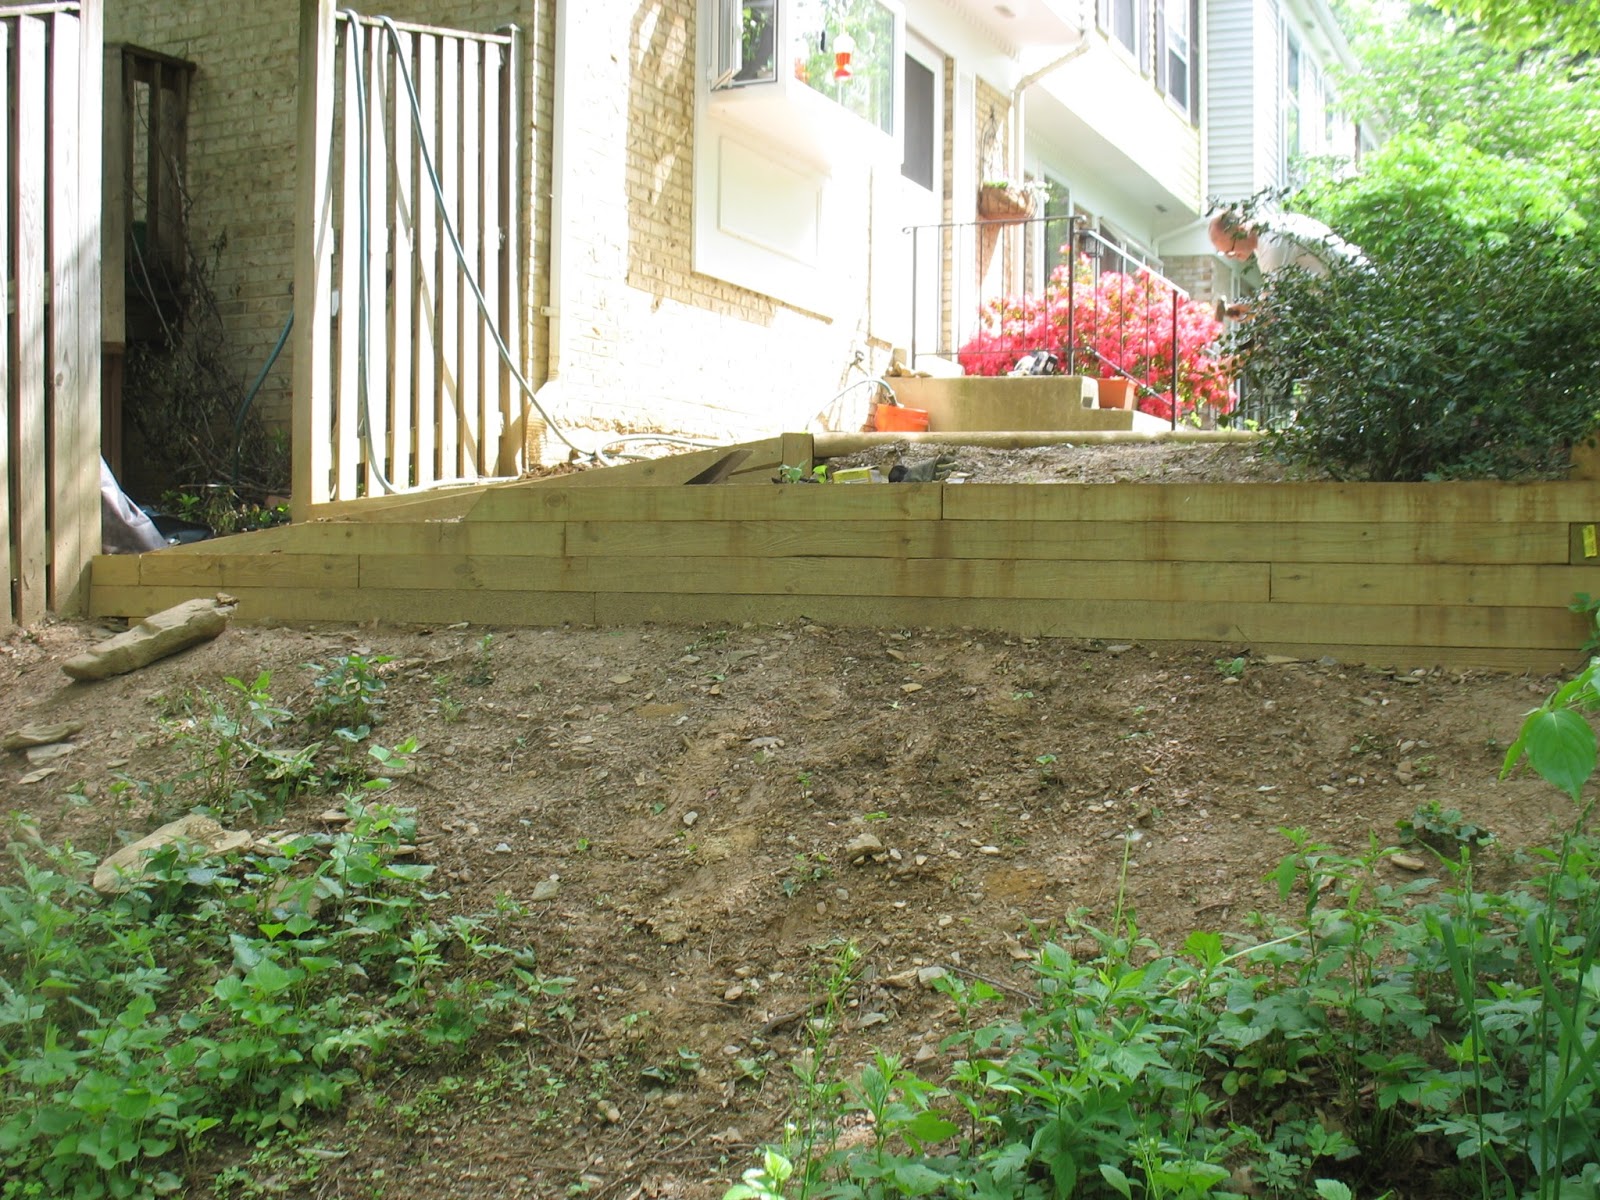
So it required building a retaining wall and adding soil.
After the OK from the HOA committee,
the project began and Hubby was the one doing all the work since it would of cost us about $4,000 when it was said and done.
Yeah, sure we'll pull out $4,000 from........
 
Building the wall was stressing him out especially since he NEVER built a retaining wall before.
The internet is a great source of information!!!
After building this we didn't need to buy soil, thank goodness, we had enough after the wall went up and walkway went in, so $$$ saved here.
(Below- before adding mulch)
 
 
After:
We weeded and added mulch and planted a spreading plant, ordered it and came in a root bound ball so still waiting to see if it'll do anything, and we planted impatients as well.
So after moving the soil around, replanting the holly bushes which was a bit stressful because the rules on replanting those were specific and if you did one thing wrong they'd die. Happy to say they are healthy and happy.
Here he's now putting in a walkway to the gate. 
He even added steps, again the internet was a great help, this was a bit of a tough one but he figured it out and it turned out great. 
Here is the after, below, after putting in pea gravel


(before adding mulch) 
 
(after adding mulch) 
 
(Holly Bushes doing well)
 
This part is always been hard for me, PATIENCE, waiting on the plants to fill in, controlling myself by not buying so many plants since it does get expensive, but I do go to the nurseries and watch out for sales on perennials.
 
 
We were having issues with some neighbors walking through our front yard to cut across to the main entrance, after putting in the wall and landscaping it finally stopped, even after we landscaped one neighbor insisted on still walking through but I haven't seen him do it, maybe because heard me scolding a young boy who thought he was superman and tried to jump from our wall over our flowers and instead he landed on my flowers as he was running down the slope, I must of looked like a crazy person running out my front door, I'm sure others heard me but I didn't care.
Well, the boy never did that again, in fact I haven't seen him and his friend playing out there since then.
Oh well, we're happy with the results and can't wait to see the flowers fill in and can't wait to add more.

Monday, July 16, 2012

Lemon Bundt Cake Gluten Free


Today was a baking day.
I searched through my Gluten Free cookbooks and saw this recipe.
It's from The Allergen-Free Baker's Handbook and there are some
delicious recipes that I can't wait to try.
The recipe for Lemon Poppy Seed Bundt Cake is so delicious and the glaze is tangy.
Great with a hot cup of tea, of course you're wondering who is drinking tea when it's 98 degrees out?
Well, I am, especially since it's quite comfortable
 in my house so I enjoy a cup of afternoon tea with a piece of this wonderful, 
delicious beauty.

Things around here are still moving along, hubby tiled the laundry room floor,
I can't wait to show this room before we did this, it was dark, dirty, exposed and it smelled horrendous.
In fact, this whole house stunk, a smell that you can't forget. They had carpet in this room, yes in the laundry room and on the stairwell that I think their dog peed on occasionally.
Plus the fact that it was empty over a year and closed up didn't help things.
As soon as hubby took out the carpet tiles and tossed them out, the smell is practically gone,
I hope after painting it'll vanish completely.
So, he has to grout tonight, 
the contractor is adding doors to hide the AC and water heater units, then I can prime and paint.
So, I've yet need to paint this room, the bathroom down here, the basement, then the master bath, and hall bath upstairs, also have some painting to do on the stairwell, then some touch up painting throughout the house.
It's coming along.


I thoroughly enjoy the fact that I can actually live in this house. 
When we put our home on the market, 
it was as if it really wasn't ours any longer.
It was decorated for people to see, for them to see how their stuff would look in that space.
I felt like I was house sitting instead. 
But now, I can do what I want, decorate they way I like
I can even put the magnets back on my fridge!
When I opened the box that contained these, I was so excited!
I know, stupid, but not if you've been 
through selling a home.
These little things mean a lot. 
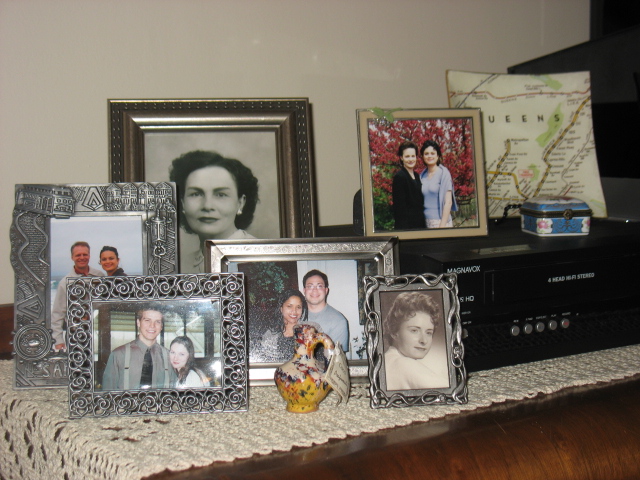
Putting out family pictures was also so much fun
Having to pack them away because the possible buyer may be distracted by seeing your pictures and may not be able to visualize themselves in the space.
Seriously! 
It's called imagination. 
Well, whatever, it's nice to open the boxes and put things in their place.
There's still some unpacking to do, but hopefully before this month is over we'll have the majority of it done.